TreeviewCopyright © aleen42 all right reserved, powered by aleen42
概述
在上一篇文章中,我们知道 AnimationController 会在 lowerBound 和 upperBound 之间执行过渡取值,但如果我们需要 0.0-1.0 区间之外值或者其他类型的值来设置动画,就需要用到插值器(Tween)了,它可以在 begin 和 end 之间进行插值补间。
Tween
啥也不说了,先看源码:
class Tween<T extends dynamic> extends Animatable<T> {
  Tween({ this.begin, this.end });

  T begin;

  T end;

  @protected
  T lerp(double t) {
    assert(begin != null);
    assert(end != null);
    return begin + (end - begin) * t;
  }

  @override
  T transform(double t) {
    if (t == 0.0)
      return begin;
    if (t == 1.0)
      return end;
    return lerp(t);
  }

  @override
  String toString() => '$runtimeType($begin \u2192 $end)';
}
发现其实也没有什么花头,只需要设置好起始和结束值即可:
import 'package:flutter/material.dart';

void main() {
  runApp(MaterialApp(home: AnimationRoute()));
}

class AnimationRoute extends StatefulWidget {
  const AnimationRoute({Key key}) : super(key: key);

  @override
  AnimationRouteState createState() => AnimationRouteState();
}

class AnimationRouteState extends State<AnimationRoute>
    with TickerProviderStateMixin {
  AnimationController controller;
  double size;

  @override
  void initState() {
    super.initState();
    controller = AnimationController(
      vsync: this,
      duration: Duration(seconds: 2),
    );
    Animation tween = Tween<double>(begin: 400, end: 100).animate(controller);
    controller.addListener(() {
      if (controller.isCompleted) {
        controller.repeat(reverse: true);
      }
      size = tween.value;
      setState(() {});
    });
    controller.forward();
  }

  @override
  Widget build(BuildContext context) {
    return Scaffold(
      appBar: AppBar(
        title: Text(""),
      ),
      body: GestureDetector(
        onTap: () {
          controller.reset();
          controller.dispose();
        },
        child: Center(
          child: Container(
            alignment: Alignment.center,
            width: size,
            height: size,
            color: Colors.cyanAccent,
          ),
        ),
      ),
    );
  }
}
在上面的例子中,我们设置了从 400 到 100 的长度过渡,图就不上了。
事实上我们使用 Tween 的情况并不多,我们使用的是 Tween 的一系列子类:
Tween 的子类们
Flutter 提供了一系列 Tween 的子类:
- ReverseTween,反向插值,其参数是一个 Tween 对象,会反向评估它的值。
- ColorTween,颜色插值器
- SizeTween,Size 类型的插值器,可用于涉资 SizedBox 之类的尺寸
- RectTween,Rect 类型的插值器
- IntTween,Int 类型的插值器
- StepTween,步数插值器,没搞明白是干啥的
- ConstantTween,常量值插值器,也没搞明白是干啥的,后续搞明白了再来修改吧
使用方法
Flutter 提供了两个方法可以帮助我们获取补间值:
- 调用 Tween 的
animate方法,该方法参数是一个double类型的Animation,而恰好 AnimationController 就是继承自Animation<double>,所以我们通常将创建好的 AnimationController 对象传入,返回值是一个包含补间动画插值的新的Animation,我们可以通过这个新的 Animation 可以直接读取包含补间动画的插值以及监听对应插值的更改。这种方法对于当你想要将新创建的动画提供给另一个 widget 时最有效。 - 调用 Tween 的
evaluate方法,该方法的参数和animate一样,但其返回值是 AnimationController 补间动画过程中的当前值。这种方法对于已经监听动画并因此在动画改变值时重新构建的 widgets 是最有效的。
两个方法的区别拿 ColorTween 来举个例子说明一下:
animate 方法:
import 'package:flutter/material.dart';

void main() {
  runApp(MaterialApp(home: AnimationRoute()));
}

class AnimationRoute extends StatefulWidget {
  const AnimationRoute({Key key}) : super(key: key);

  @override
  AnimationRouteState createState() => AnimationRouteState();
}

class AnimationRouteState extends State<AnimationRoute>
    with TickerProviderStateMixin {
  AnimationController controller;
  Animation<Color> animation;
  Color backgroundColor;

  @override
  void initState() {
    controller = AnimationController(
      vsync: this,
      duration: Duration(seconds: 2),
    );
    animation = ColorTween(begin: Colors.red, end: Colors.lightGreenAccent).animate(controller);
    controller.addListener(() {
      if (controller.isCompleted) {
        controller.repeat(reverse: true);
      }
      backgroundColor = animation.value;
      setState(() {});
    });
    controller.forward();
  }

  @override
  Widget build(BuildContext context) {
    return Scaffold(
      appBar: AppBar(
        title: Text(""),
      ),
      body: GestureDetector(
        onTap: () {
          controller.reset();
        },
        child: Center(
          child: Container(
            alignment: Alignment.center,
            width: 400,
            height: 400,
            color: backgroundColor,
          ),
        ),
      ),
    );
  }
}
evaluate 方法:
import 'package:flutter/material.dart';

void main() {
  runApp(MaterialApp(home: AnimationRoute()));
}

class AnimationRoute extends StatefulWidget {
  const AnimationRoute({Key key}) : super(key: key);

  @override
  AnimationRouteState createState() => AnimationRouteState();
}

class AnimationRouteState extends State<AnimationRoute>
    with TickerProviderStateMixin {
  AnimationController controller;
  Animation<Color> animation;
  Color backgroundColor;

  @override
  void initState() {
    controller = AnimationController(
      vsync: this,
      duration: Duration(seconds: 2),
    );
    controller.addListener(() {
      if (controller.isCompleted) {
        controller.repeat(reverse: true);
      }
      backgroundColor = ColorTween(begin: Colors.red, end: Colors.lightGreenAccent).evaluate(controller);
      setState(() {});
    });
    controller.forward();
  }

  @override
  Widget build(BuildContext context) {
    return Scaffold(
      appBar: AppBar(
        title: Text(""),
      ),
      body: GestureDetector(
        onTap: () {
          controller.reset();
        },
        child: Center(
          child: Container(
            alignment: Alignment.center,
            width: 400,
            height: 400,
            color: backgroundColor,
          ),
        ),
      ),
    );
  }
}
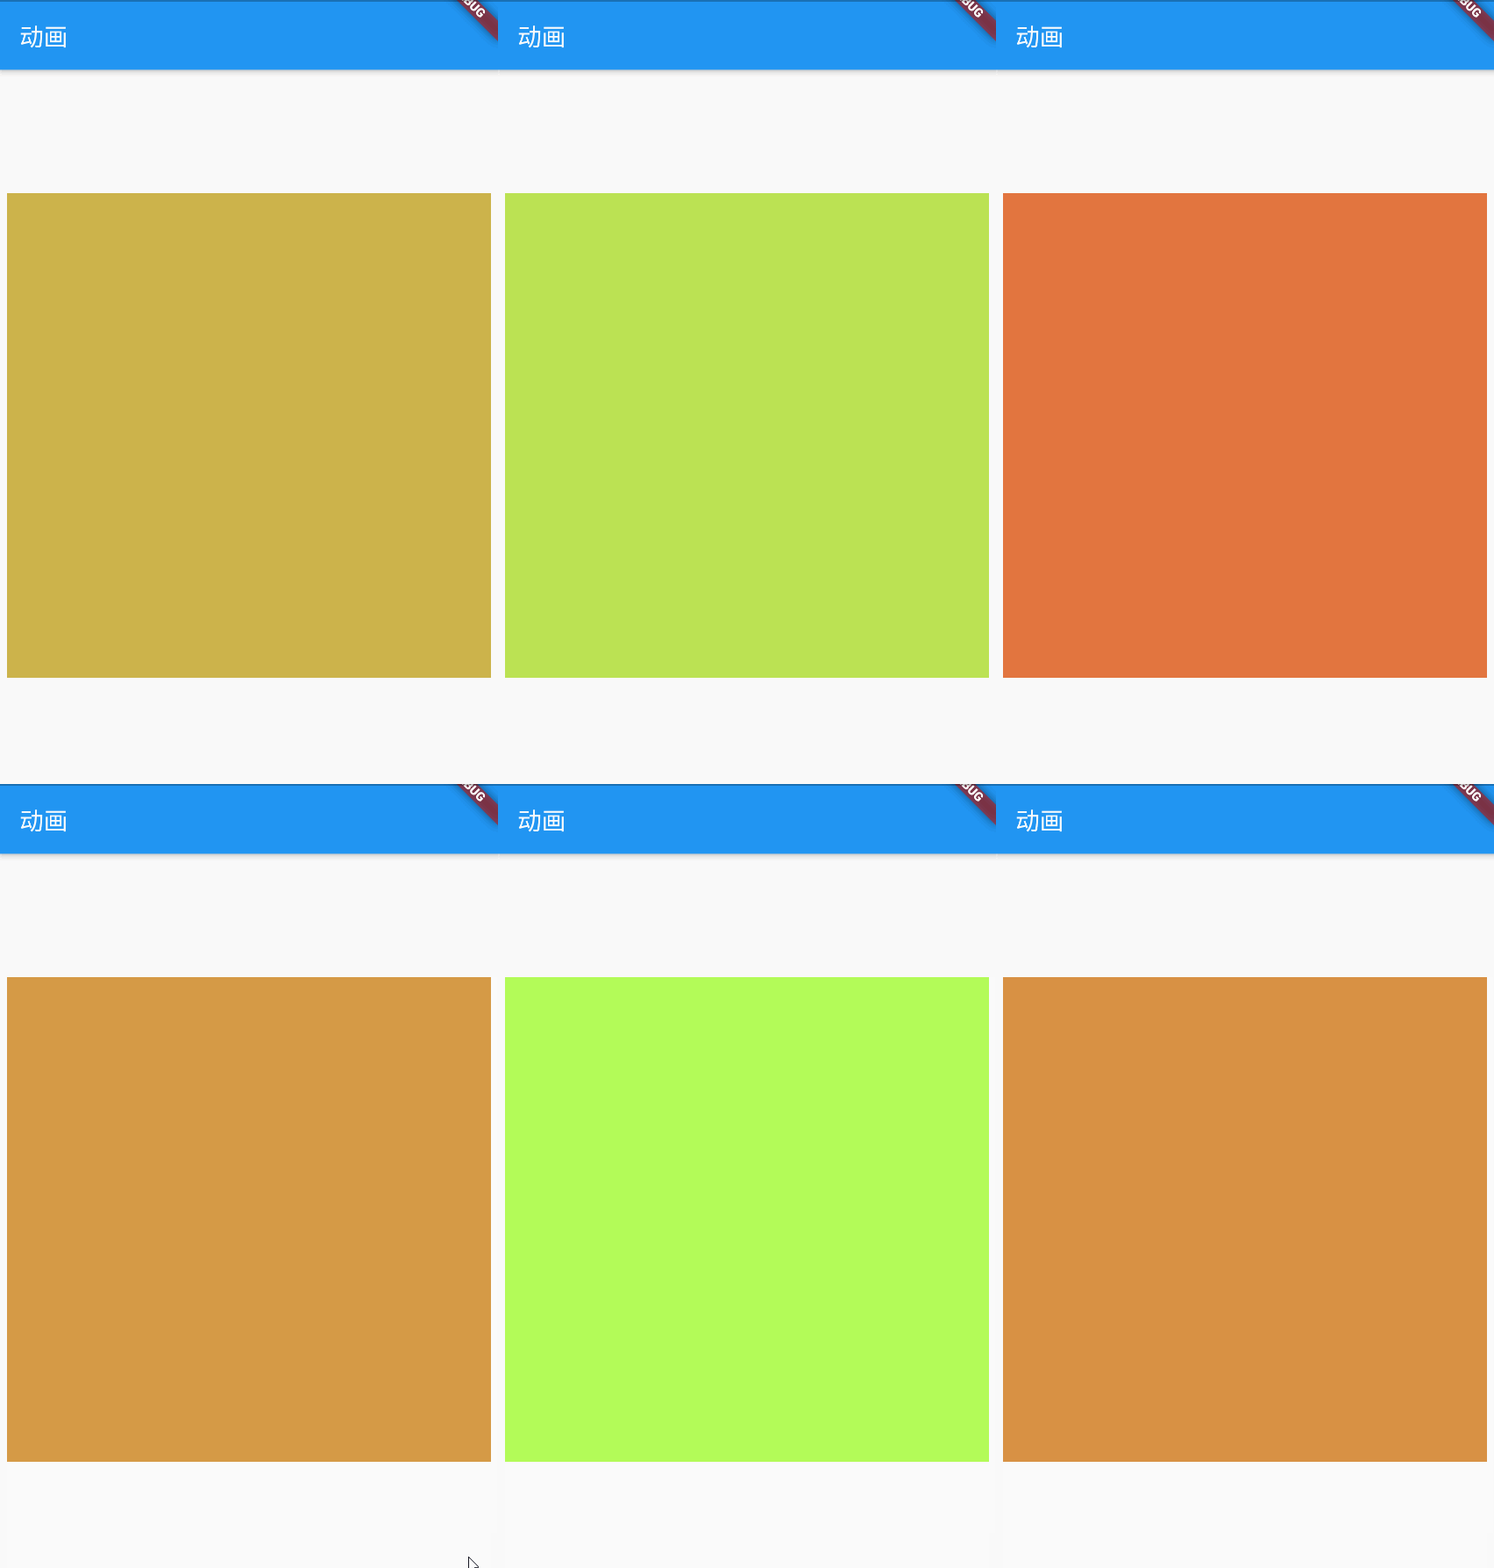
二者效果是相同的,如下所示:

其他插值器的使用方法大同小异,就不一一列举了。
自定义插值器
我们也可以通过创建自己的 Tween 子类并覆盖其 lerp 方法来定义自己的补间动画。
这里是 SizeTween 的 lerp 方法:
///SizeTween
Size lerp(double t) => Size.lerp(begin, end, t);

///Size
static Size lerp(Size a, Size b, double t) {
    assert(t != null);
    if (a == null && b == null)
        return null;
    if (a == null)
        return b * t;
    if (b == null)
        return a * (1.0 - t);
    return Size(lerpDouble(a.width, b.width, t), lerpDouble(a.height, b.height, t));
}