TreeviewCopyright © aleen42 all right reserved, powered by aleen42
在之前的例子中,我们讲了如何创建动画,我们手动创建 AnimationContriller 和 Tween,通过手动调用 setState 方法来让 Widget 实现动画效果,后来为了简化动画创建,又学了 AnimatedWidget 和 AnimatedBuilder,Flutter 还为我们提供了另外一种实现动画的方式,确切的说,是提供了一种“自身带有动画效果的 Widget”,它们都是 ImplicitlyAnimatedWidget 的子类:
- TweenAnimationBuilder, 可以将 Tween 表示的属性转化为相应的值,视频解释 → TweenAnimationBuilder (Flutter Widget of the Week)
- AnimatedAlign, 含有隐式动画的 Align
- AnimatedContainer, 含有隐式动画的 Container ,视频解释 → AnimatedContainer (Flutter Widget of the Week)
- AnimatedDefaultTextStyle, 含有隐式动画的 DefaultTextStyle
- AnimatedOpacity, 含有隐式动画的 Opacity,视频解释 → AnimatedOpacity (Flutter Widget of the Week)
- AnimatedPadding, 含有隐式动画的 Padding,视频解释 →AnimatedPadding (Flutter Widget of the Week)
- AnimatedPhysicalModel, 含有隐式动画的 PhysicalModel.
- AnimatedPositioned, 含有隐式动画的 Positioned,视频解释 → AnimatedPositioned (Flutter Widget of the Week)
- AnimatedPositionedDirectional, 含有隐式动画的 PositionedDirectional.
- AnimatedTheme, 含有隐式动画的 Theme.
- AnimatedCrossFade, 设置组建之间的淡入淡出,视频解释 → AnimatedCrossFade (Flutter Widget of the Week)
- AnimatedSize, 在预设时间内自动转换大小。
- AnimatedSwitcher, Widget 之间切换动画,视频解释 → AnimatedSwitcher (Flutter Widget of the Week)
下面是常用的两个隐式动画组建:
AnimatedContainer
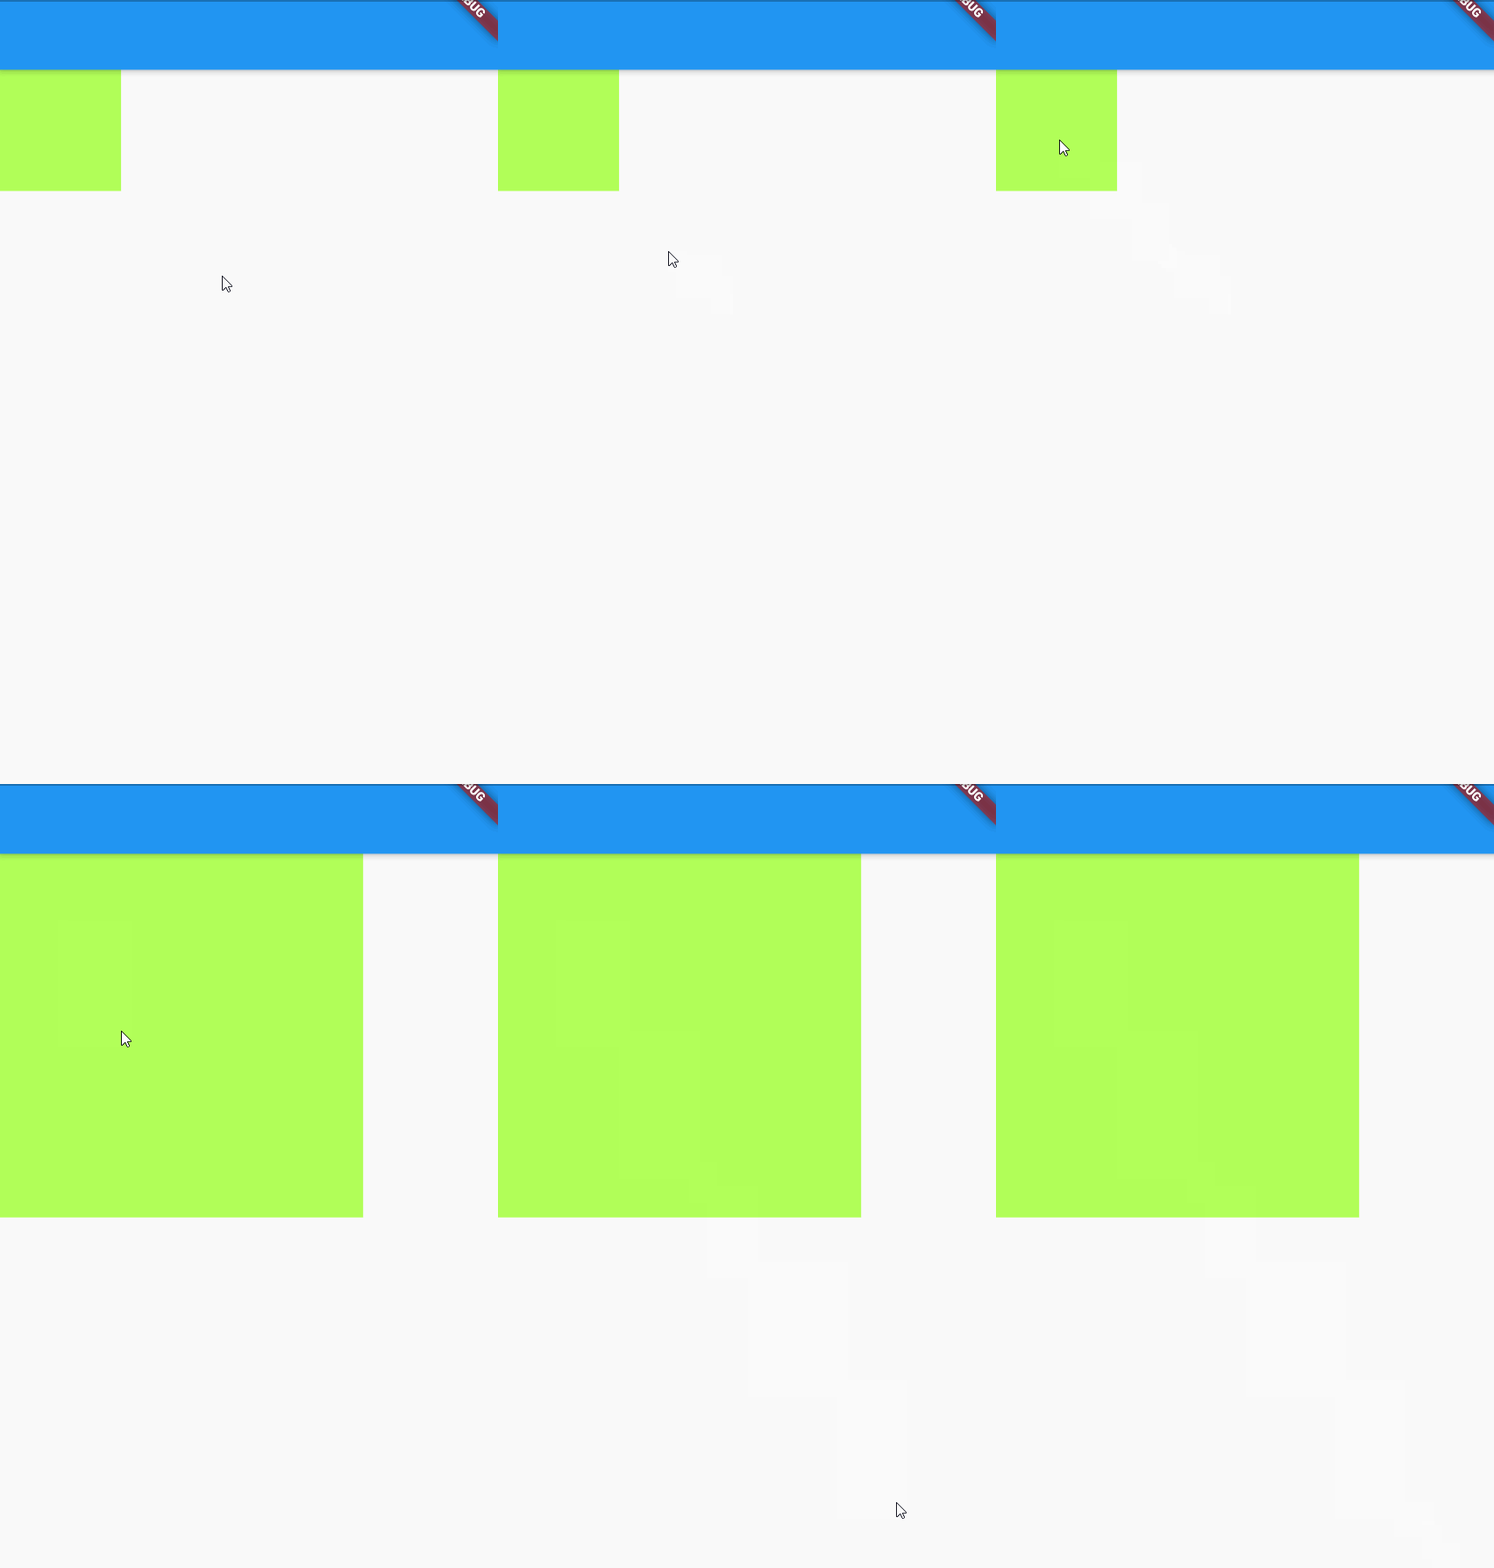
在之前学习 Container 的时候,如果我们手动的修改 Container 的宽高再调用 setState 方法更新 UI:
import 'package:flutter/material.dart';

void main() => runApp(MaterialApp(home: AnimationRoute()));

class AnimationRoute extends StatefulWidget {
  const AnimationRoute({Key key}) : super(key: key);

  @override
  AnimationRouteState createState() =>
      AnimationRouteState();
}

class AnimationRouteState
    extends State<AnimationRoute> {
  double size = 100;

  @override
  Widget build(BuildContext context) {
    return Scaffold(
      appBar: AppBar(
        title: Text(""),
      ),
      body: GestureDetector(
        onTap: () {
          size = 300;
          setState(() {});
        },
        child: Container(
          width: size,
          height: size,
          color: Colors.lightGreenAccent,
        ),
      ),
    );
  }
}
执行效果如下:

你会发现变化并不是平滑的过渡,特别的突兀的直接变化,Flutter 为我们提供了一个 Widget —— AnimatedContainer,它本质上和 Container 没什么区别,只是内部帮我们实现了 AnimationController,我们只需要对相应的属性做出更改,然后调用 setState,系统会使用其内置的 curve 在我们设置的持续时间内进行旧值到新值之间的更改,看其构造函数:
  AnimatedContainer({
    Key key,
    this.alignment,
    this.padding,
    Color color,
    Decoration decoration,
    this.foregroundDecoration,
    double width,
    double height,
    BoxConstraints constraints,
    this.margin,
    this.transform,
    this.child,
    Curve curve = Curves.linear,
    @required Duration duration,
    Duration reverseDuration,
  })
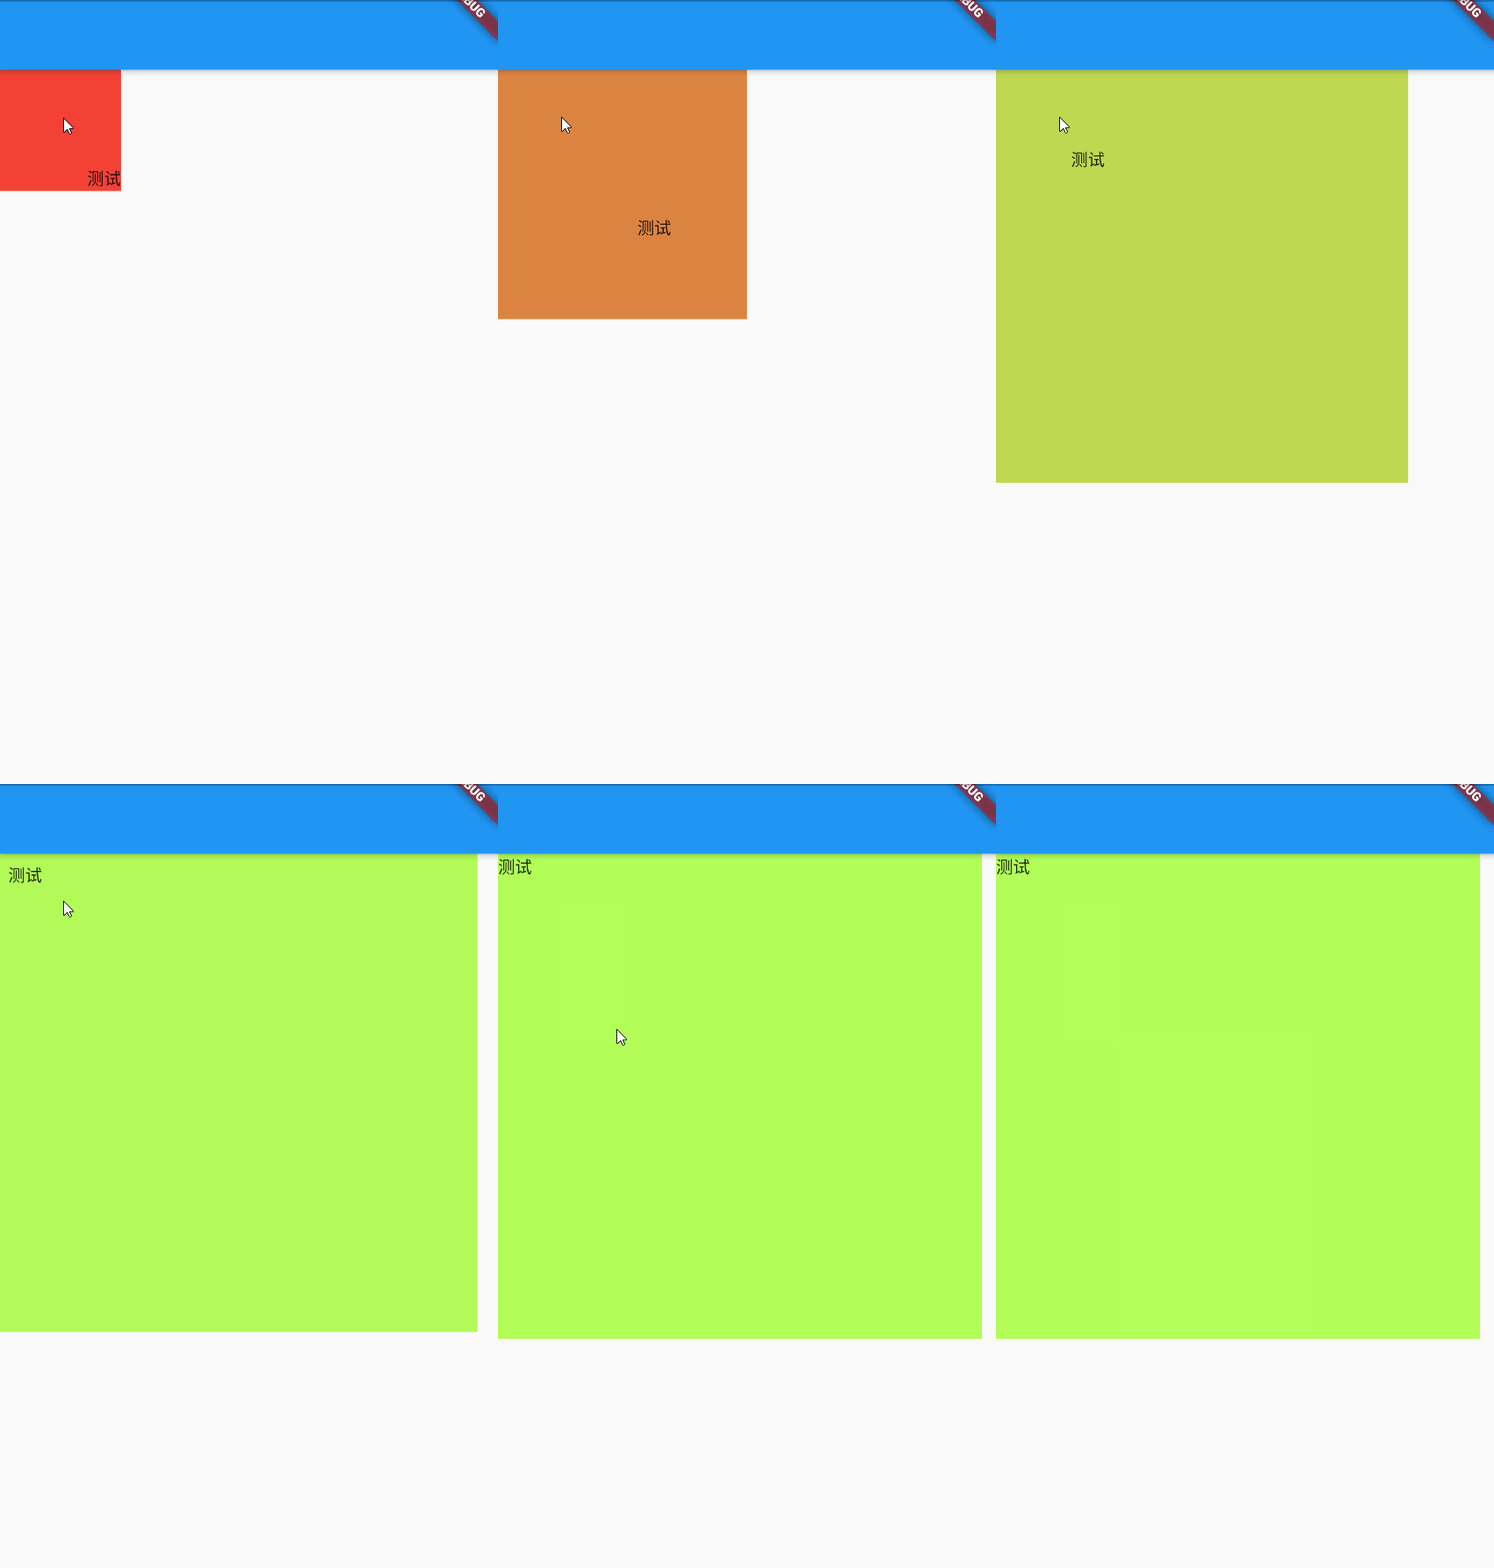
你会发现和 Container 差不多,只是多了几个动画相关的属性,使用起来也很简单:
import 'package:flutter/material.dart';

void main() => runApp(MaterialApp(home: AnimationRoute()));

class AnimationRoute extends StatefulWidget {
  const AnimationRoute({Key key}) : super(key: key);

  @override
  AnimationRouteState createState() =>
      AnimationRouteState();
}

class AnimationRouteState
    extends State<AnimationRoute> {
  double size = 100;
  Color color = Colors.red;
  Alignment alignment = Alignment.bottomRight;

  @override
  Widget build(BuildContext context) {
    return Scaffold(
      appBar: AppBar(
        title: Text(""),
      ),
      body: GestureDetector(
        onTap: () {
          alignment = Alignment.topLeft;
          size = 400;
          color = Colors.lightGreenAccent;
          setState(() {});
        },
        child: AnimatedContainer(
          duration: Duration(seconds: 2),
          curve: Curves.ease,
          alignment: alignment,
          width: size,
          height: size,
          color: color,
          child: Text("测试"),
        ),
      ),
    );
  }
}
其效果如下:

暂时没有发现有控制 AnimatedContainer 的方法,例如开始、暂停、结束。
AnimatedOpacity
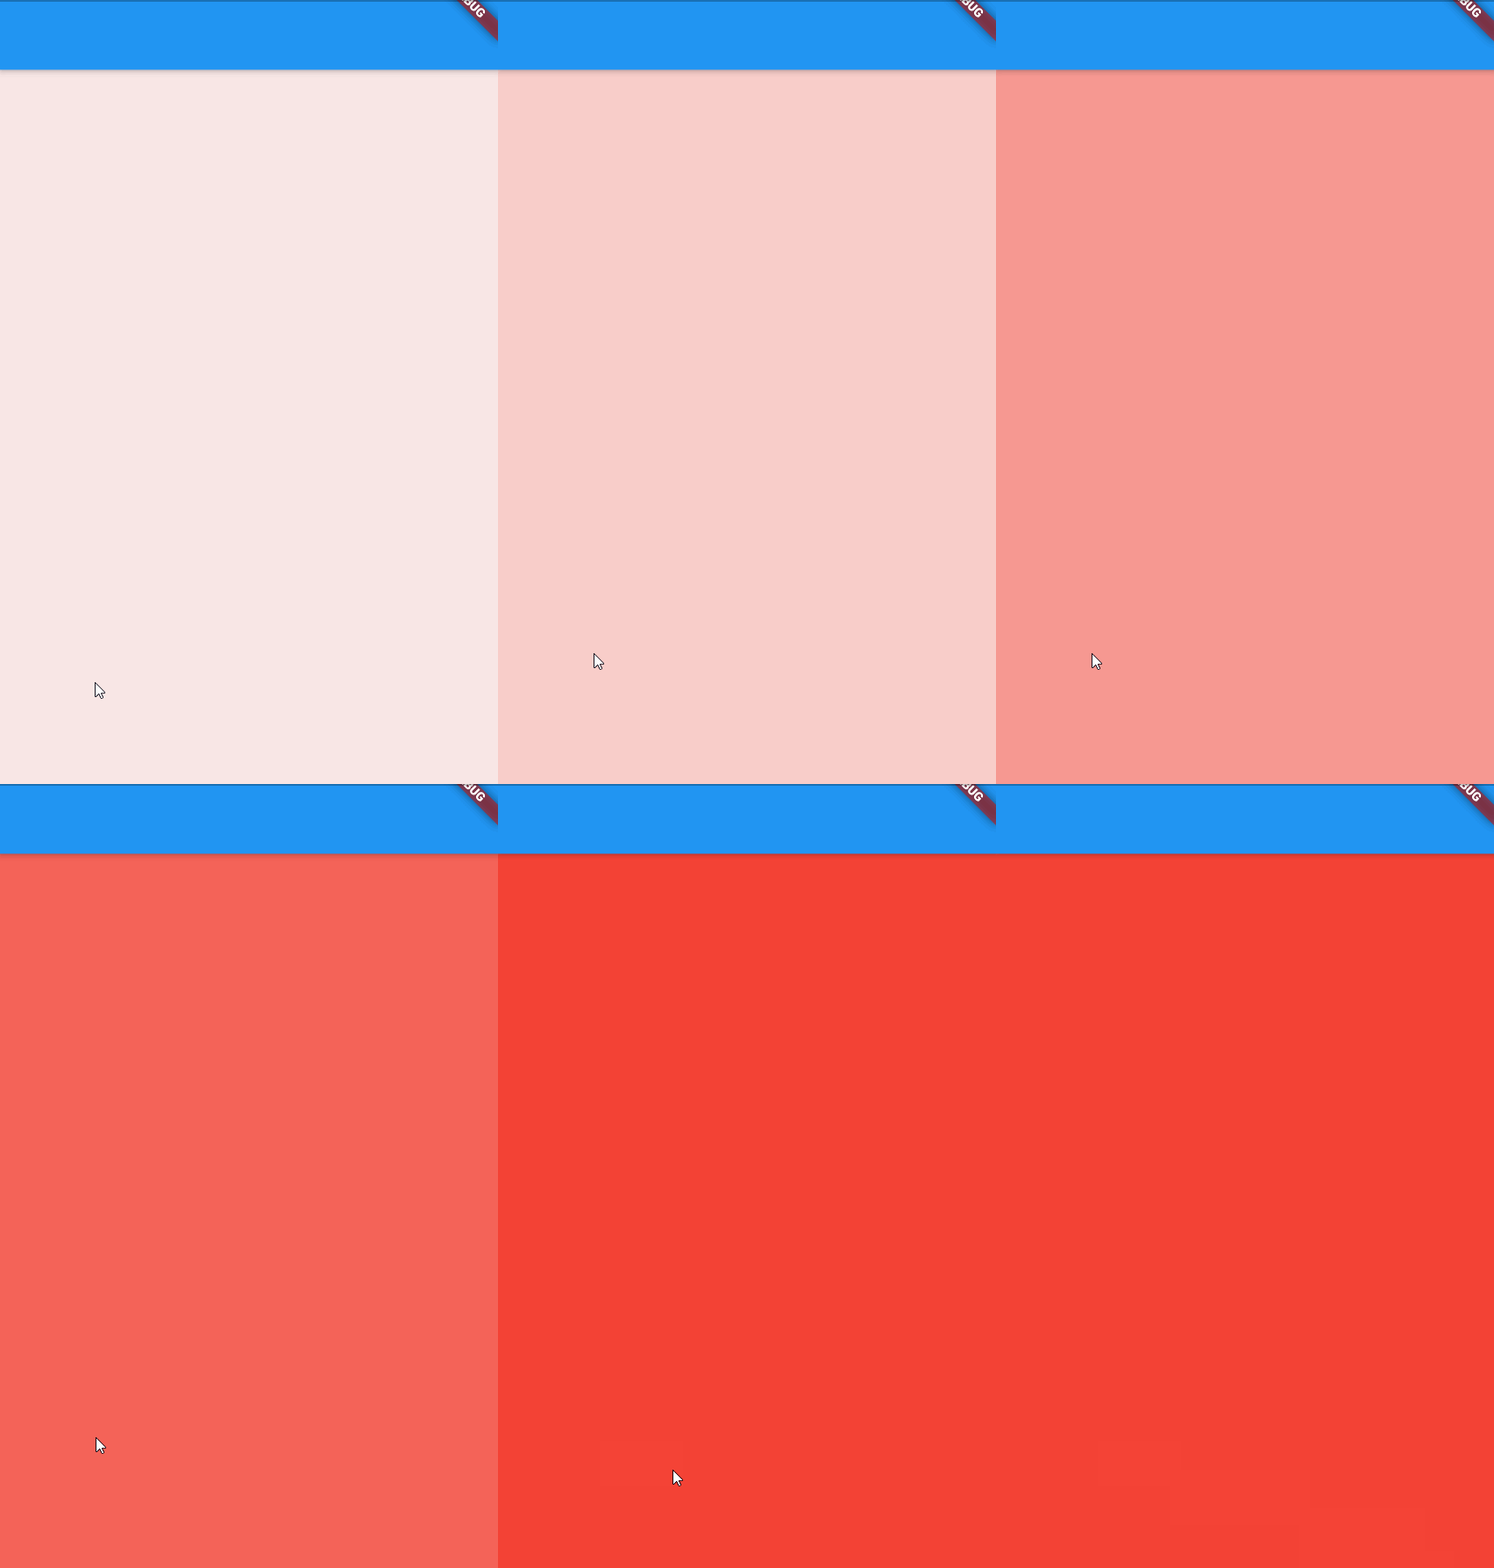
用于改变透明度的动画组件,废话不多说,看源码:
  const AnimatedOpacity({
    Key key,
    this.child,
    @required this.opacity,
    Curve curve = Curves.linear,
    @required Duration duration,
    Duration reverseDuration,
  })
例子:
import 'package:flutter/material.dart';

void main() => runApp(MaterialApp(home: AnimationRoute()));

class AnimationRoute extends StatefulWidget {
  const AnimationRoute({Key key}) : super(key: key);

  @override
  AnimationRouteState createState() =>
      AnimationRouteState();
}

class AnimationRouteState
    extends State<AnimationRoute> {

  double opacity = 0.1;

  @override
  Widget build(BuildContext context) {
    return Scaffold(
      appBar: AppBar(
        title: Text(""),
      ),
      body: GestureDetector(
        onTap: () {
          opacity = 1.0;
          setState(() {});
        },
        child: AnimatedOpacity(
          duration: Duration(seconds: 2),
          opacity: opacity,
          child: Container(
            color: Colors.red,
          ),
        ),
      ),
    );
  }
}
效果如下:
